SCCA ITS 2nd Gen build

ismaelae86

New member
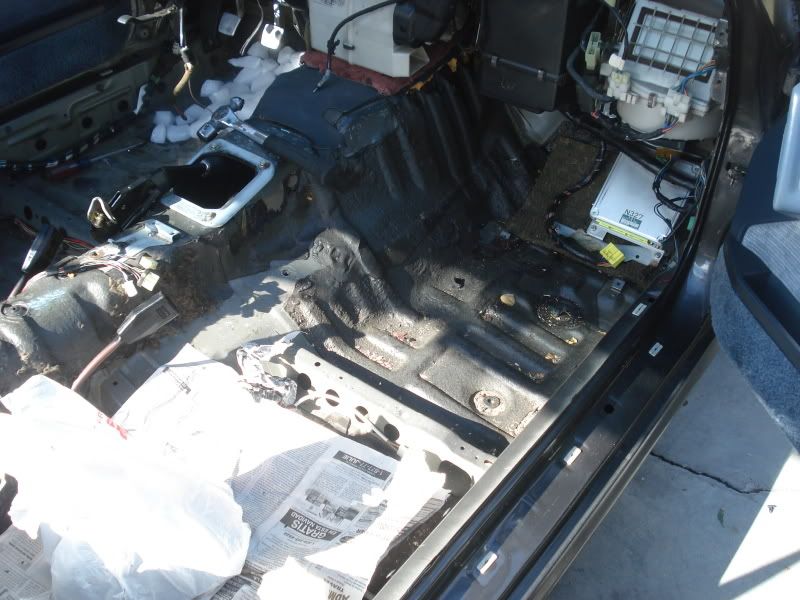
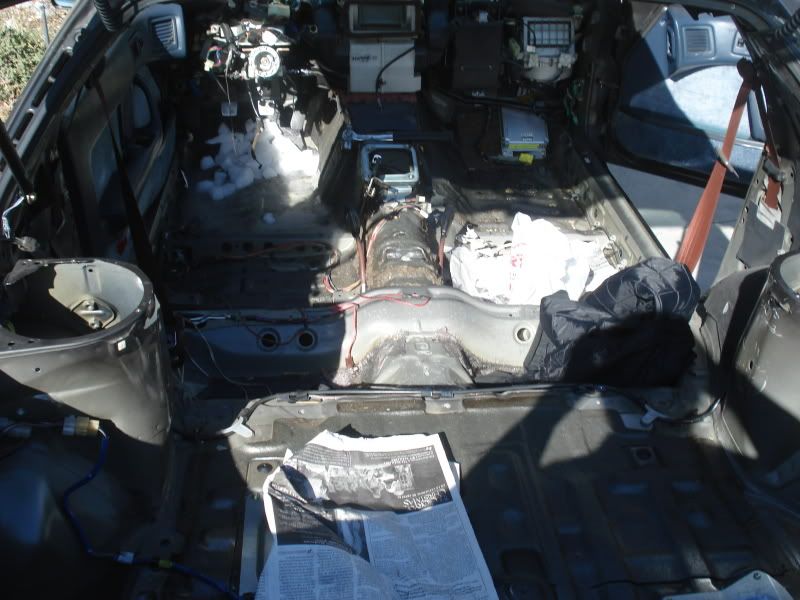
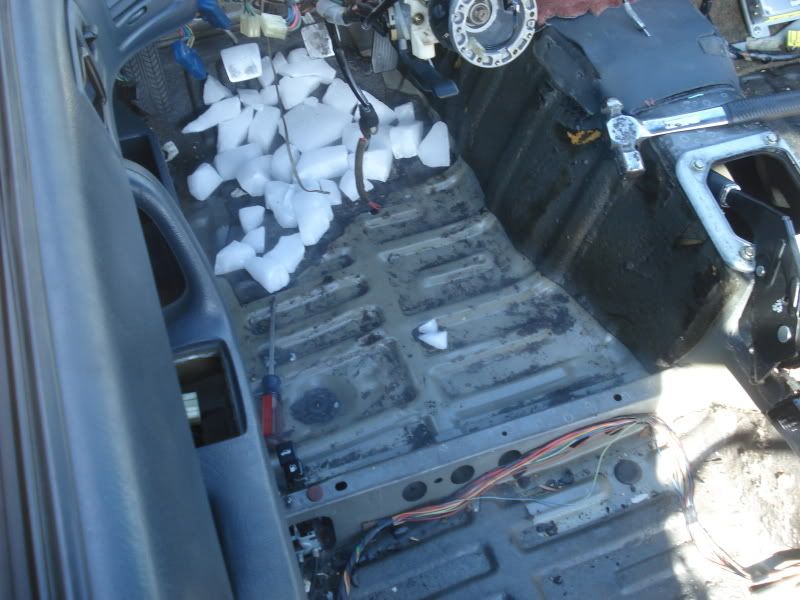
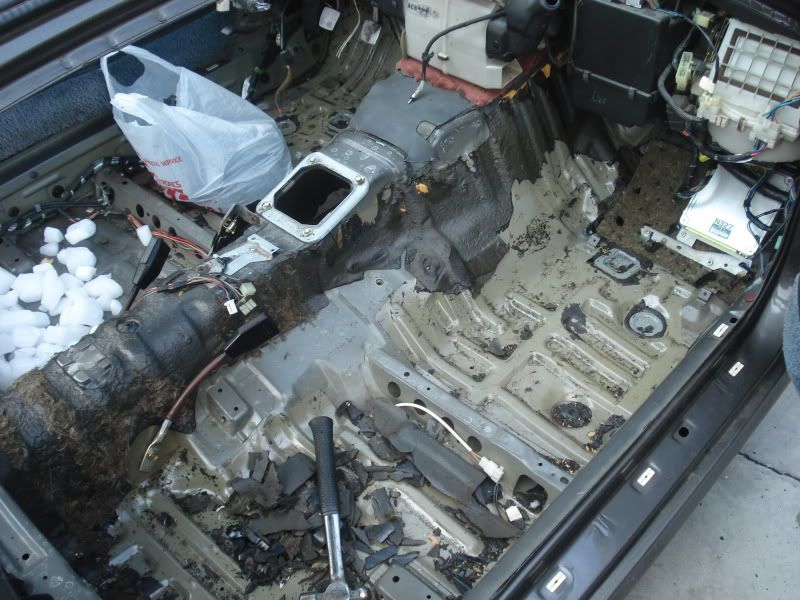
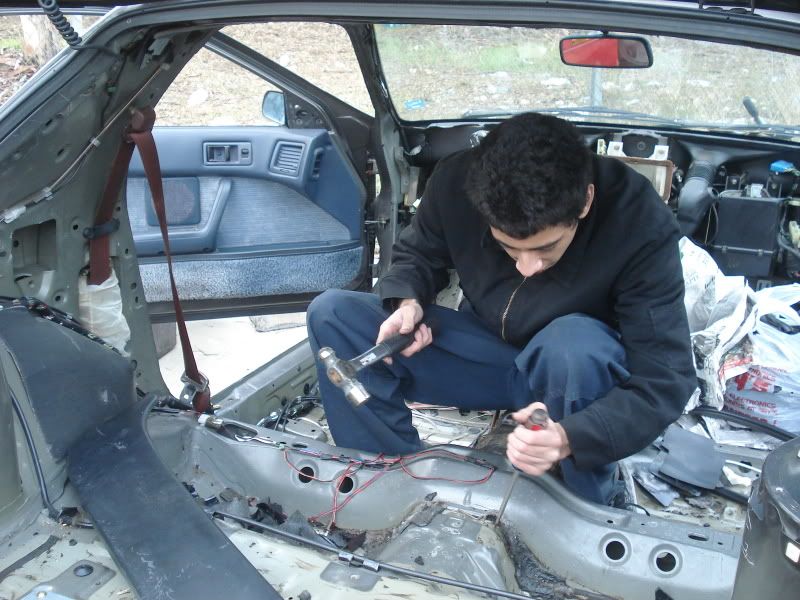
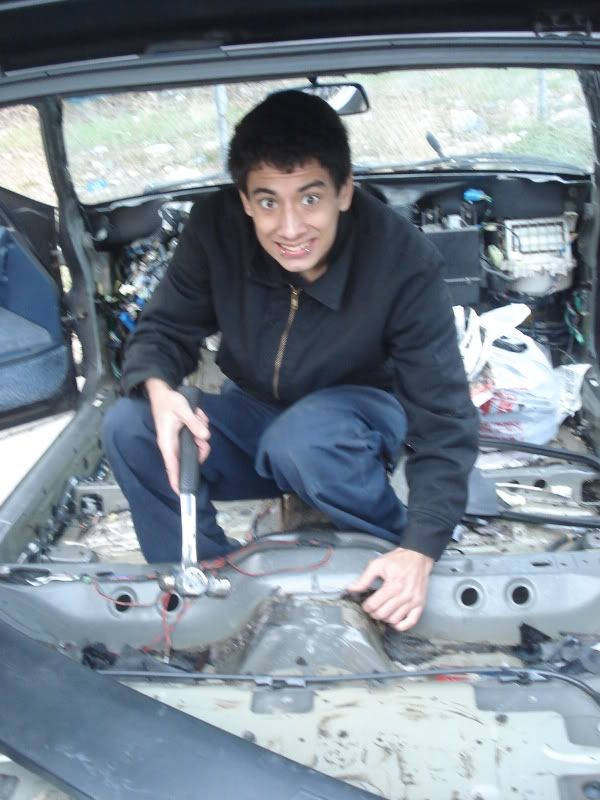
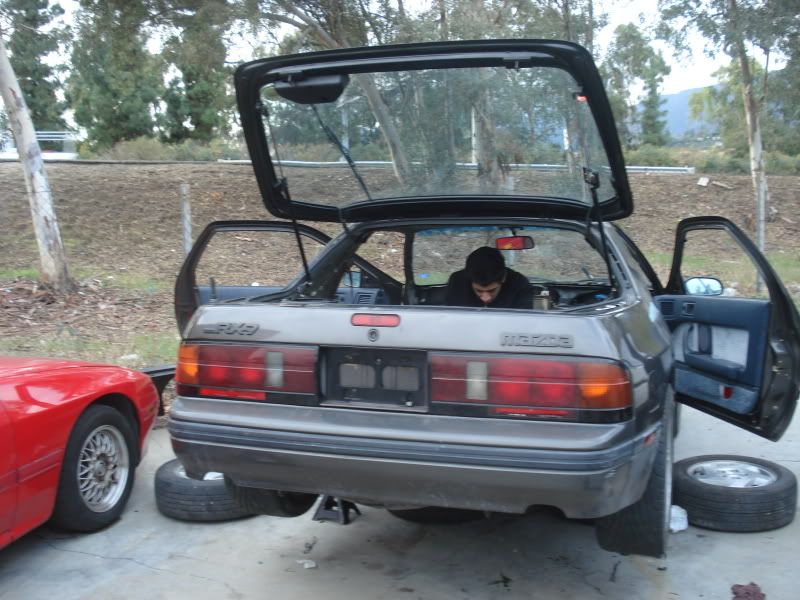
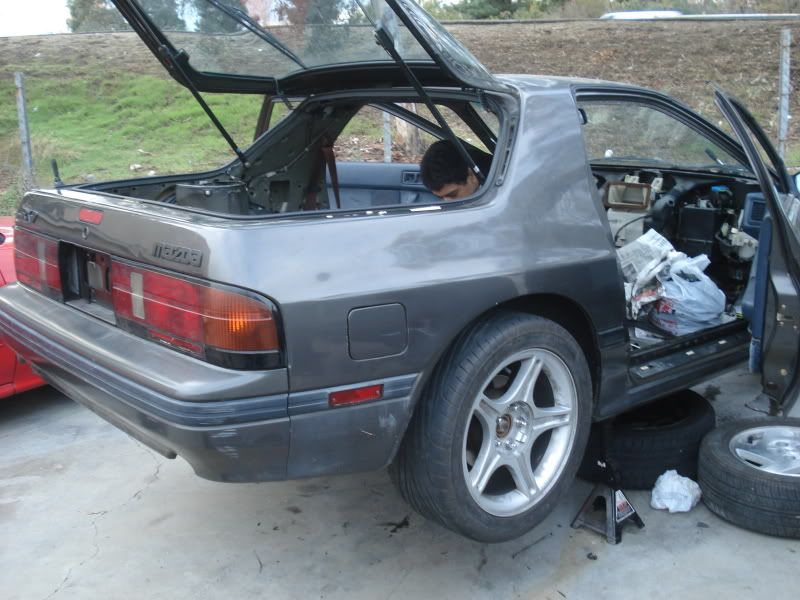
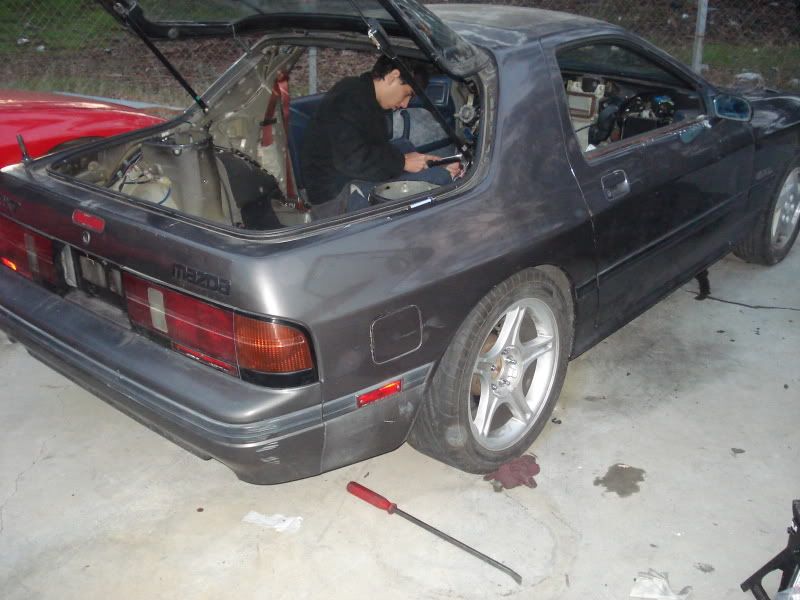
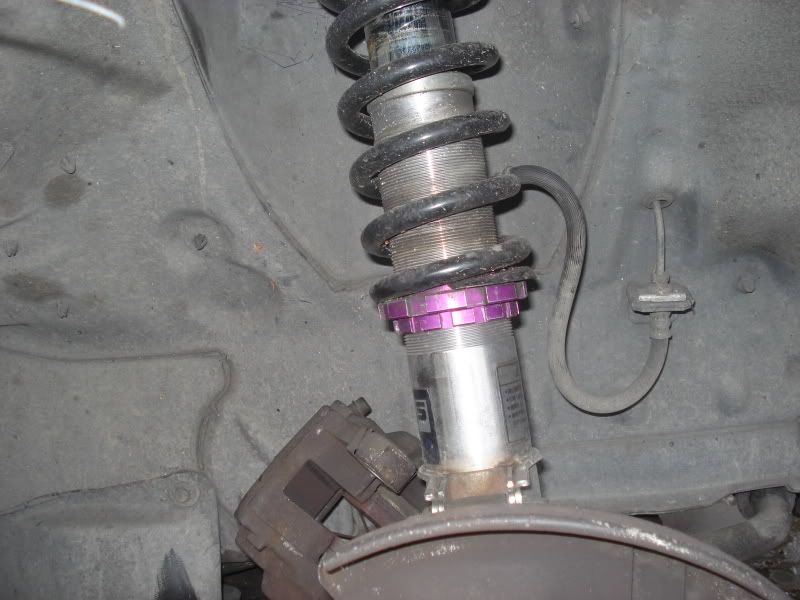
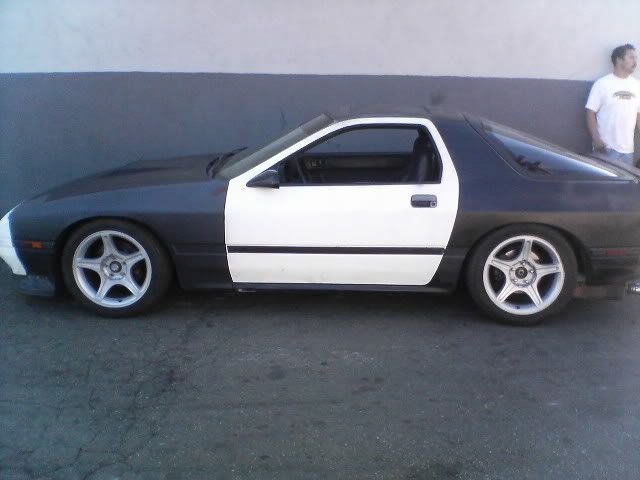
first off as the title says i'm going to start building my 2nd gen into a SCCA ITS car...this project will probably take some time to finish becuz i dont have to much free time at the moment but hopefully i will have the roll cage and all safety equipment in by feb 20 so that i can go to driving school to get my SCCA regional license... i bought a '88 shell and im in the process of transferring my engine, tranny, suspension and diff from my '86 gxl..the reason for this is my '86 was originally an auto and i had made a custom trans mount to convert it to a manual trans (that is against the rules) so far today my friends jesse (rotaryguy007), johnny and i start by removing the sound deadening (as much as possible with the amount of dry ice that i bought)...we also transferred the diff and put my rear coilovers on (HKS Hiper d) i completely forgot about the camera at the time so no pics of that :dammit: ..here are a few pics that i did take

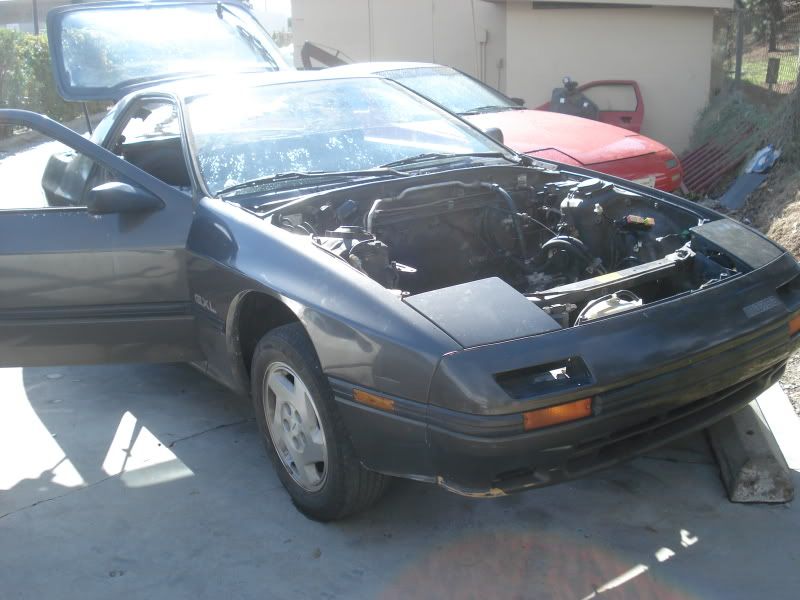
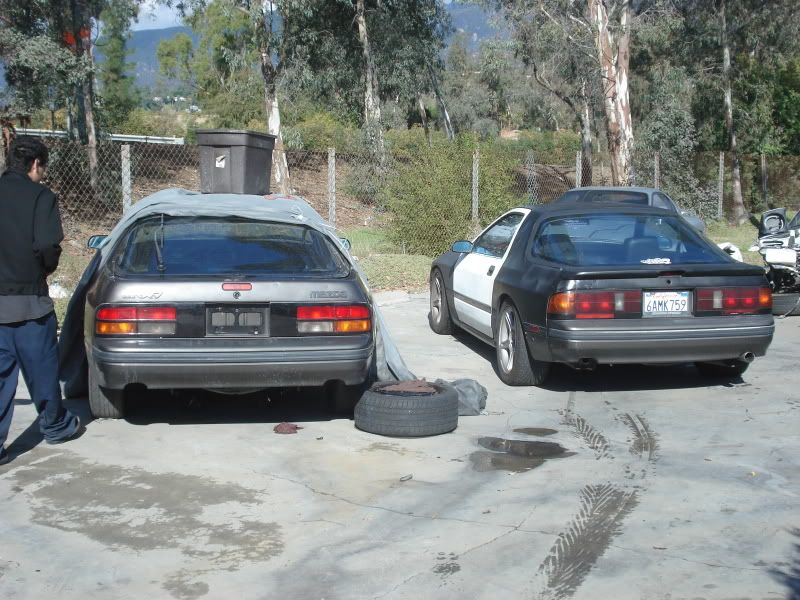
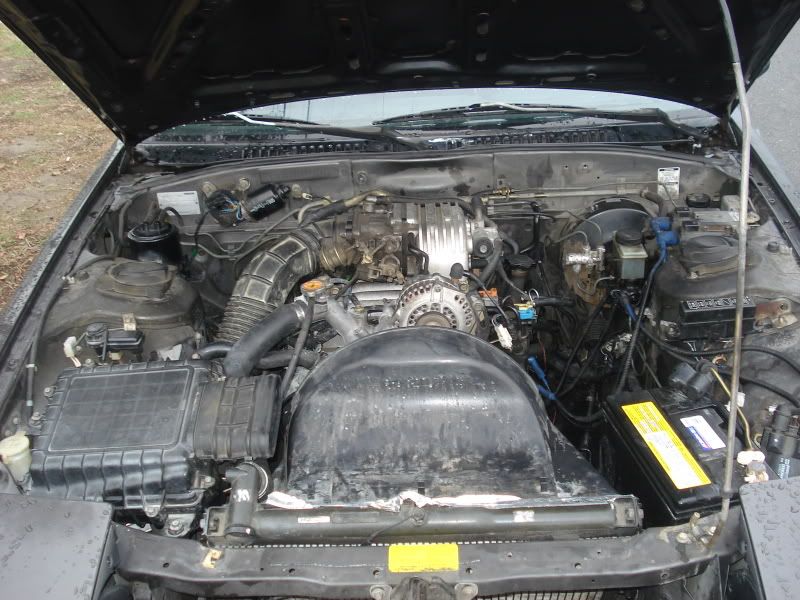
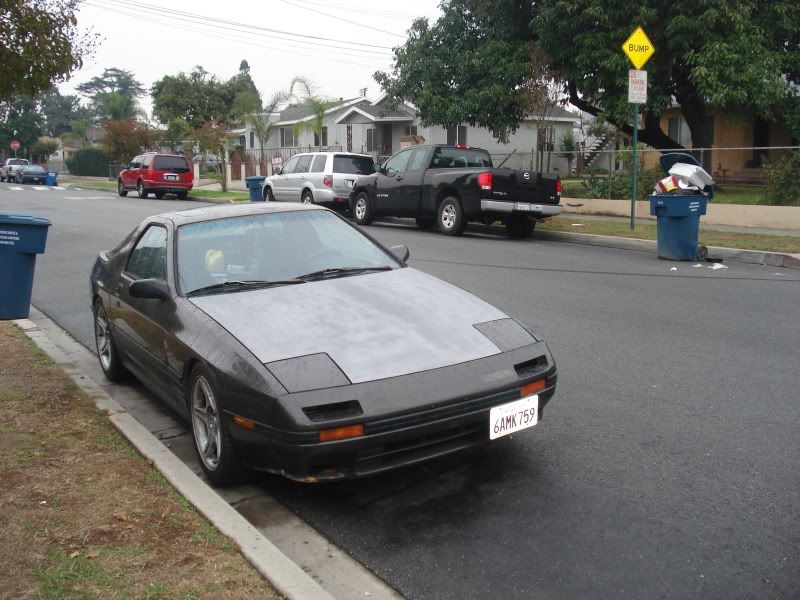
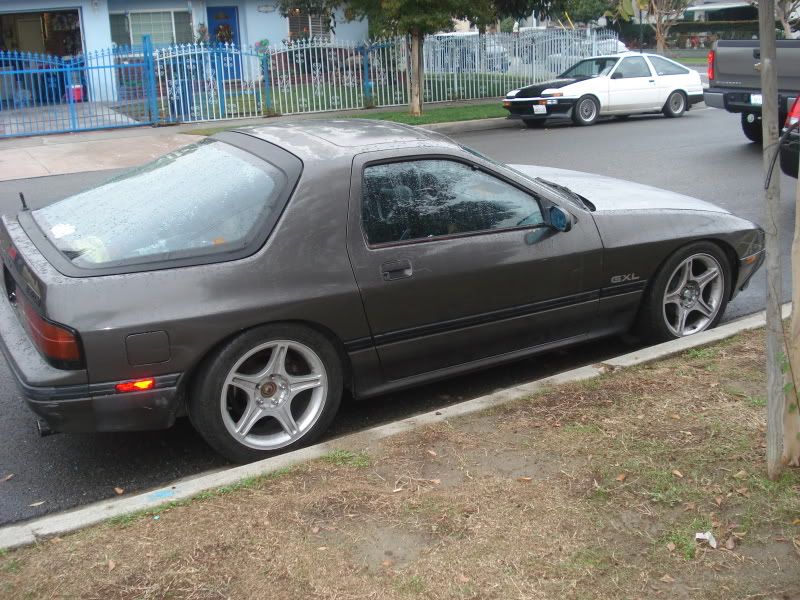
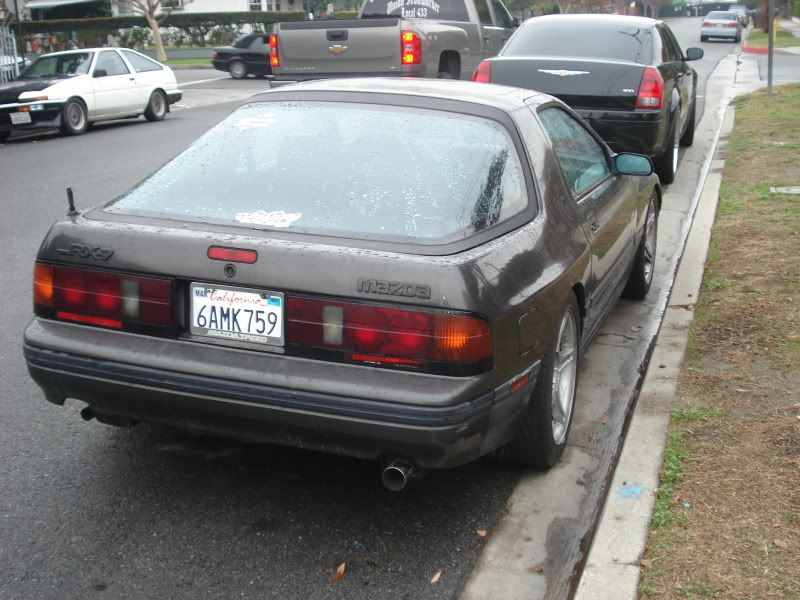
here is the donor car
1118081332.jpg

me3-1.jpg

me4.jpg
 
Last edited:
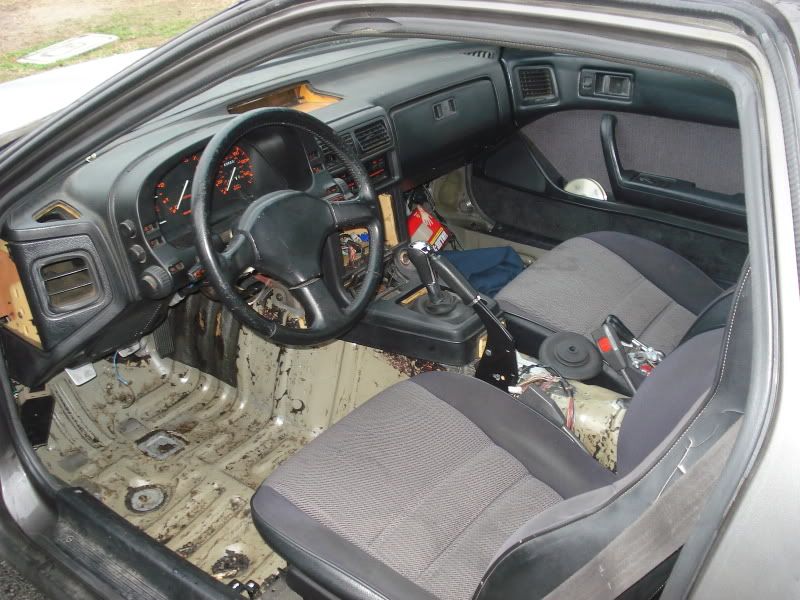
and removing the sound deadening

DSC03705.jpg

DSC03706.jpg

DSC03707.jpg

DSC03711.jpg


we pretty much removed everything but still need to work on the tunnel since it is the hardest spot to get the dry ice on too
 
Good start. Put the dry ice in a plastic bag and it will last a lot longer. It actually evaporates. Break it in small pieces with a block of wood to cover more area. Car looks like a solid shell to start.
 
I remember those heady days of building the first race car...exciting times...lol...

Good work guys. Keep posting the pics. Where are you located?
 
thanks for the tip ill probably use the dry ice bag trick on the tranny tunnel and firewall. i live in El Monte,and doing the swap at my friends shop in Duarte, California, thanks for the support and yes this is a very exciting build for me, ill try and post pics later on tonight if the rain subsides
 
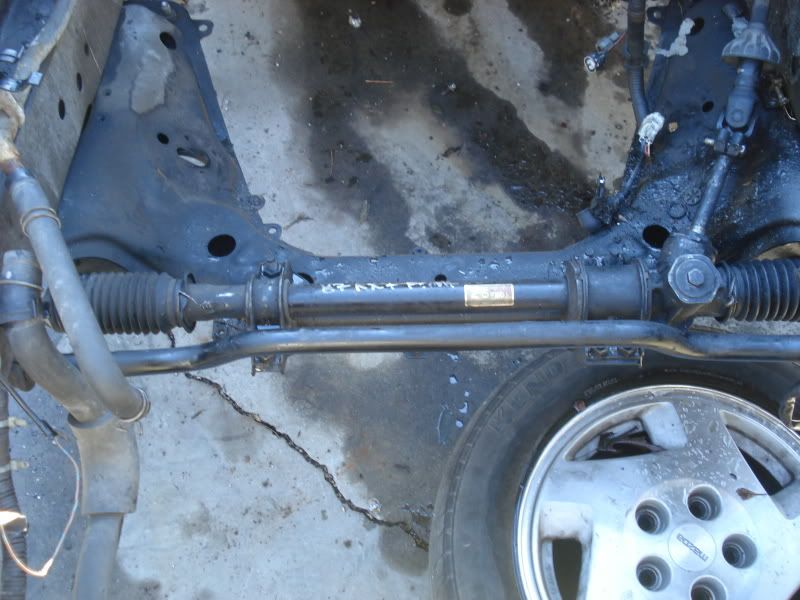
today we got the front suspension done, arp studs in the front at the moment,and a manual rack..it was really hard to work since it was raining all day and again didnt get to take any pics (didnt want to get my camera wet) ill take some tomorrow of todays progress and tomorrow...its not suppose to rain tomorrow so hopefully i can knock out a bunch of stuff tomorrow
 
For that undercoating, a good hair dryer (or heat gun), a putty knife and patience works well, too - and may work better on the tunnel.
 
k its time to update you guys.sorry its taken me a while just been really busy because we had a party on sat and some family is down from washington state to visit

first off we finished up the suspension until i get some more parts and we got the manual rack on

DSC03722.jpg

DSC03724.jpg


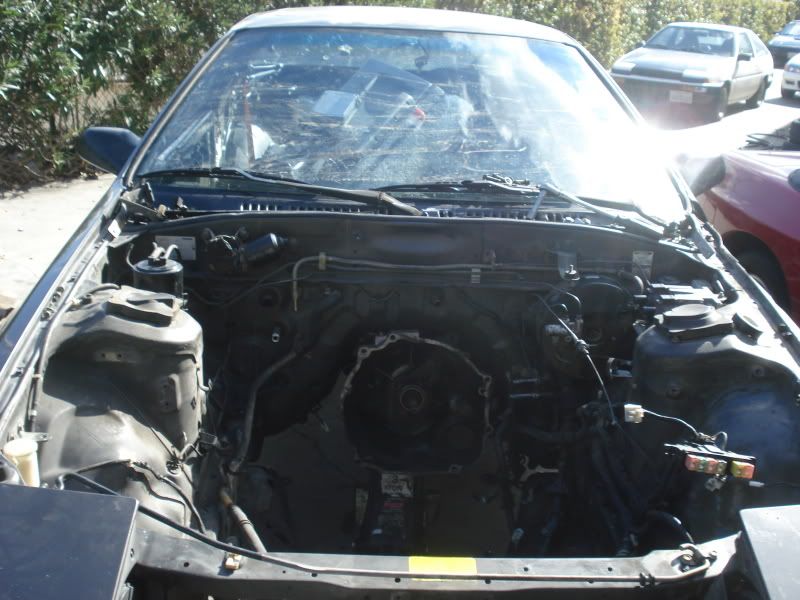
we got the trans in
DSC03726.jpg
 
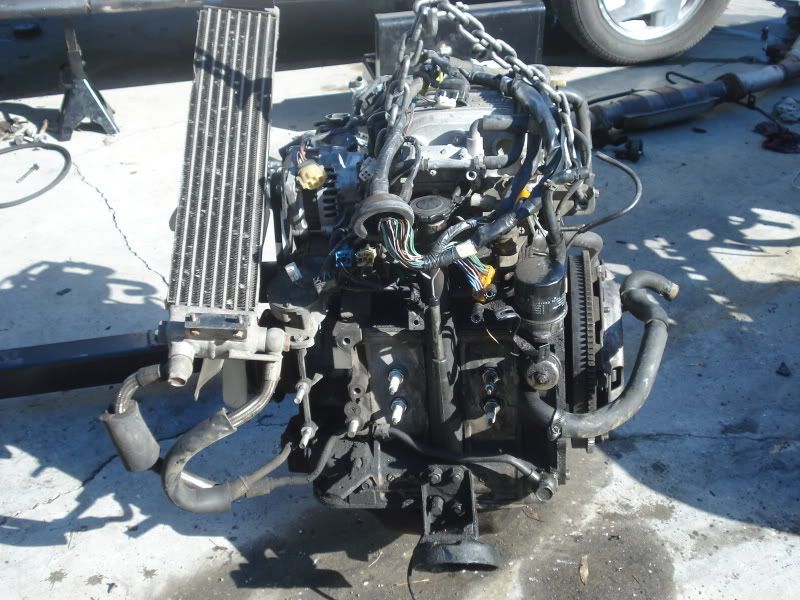
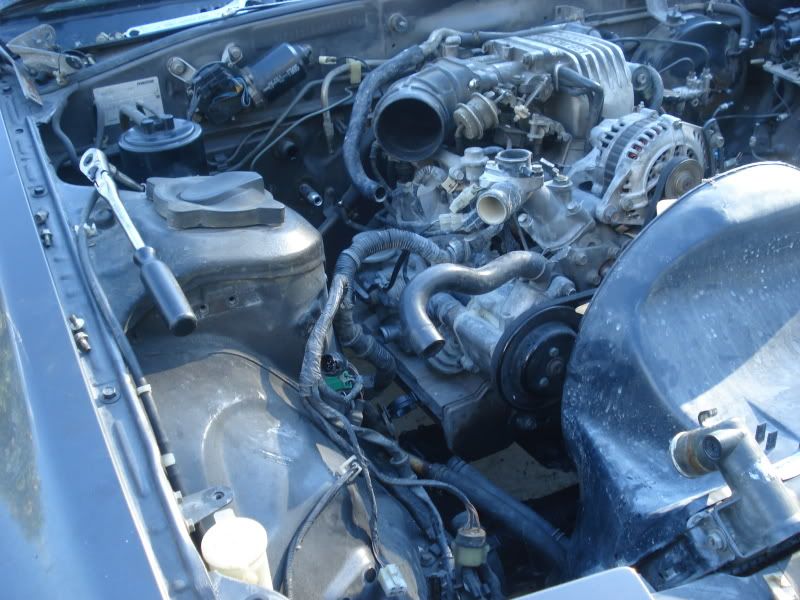
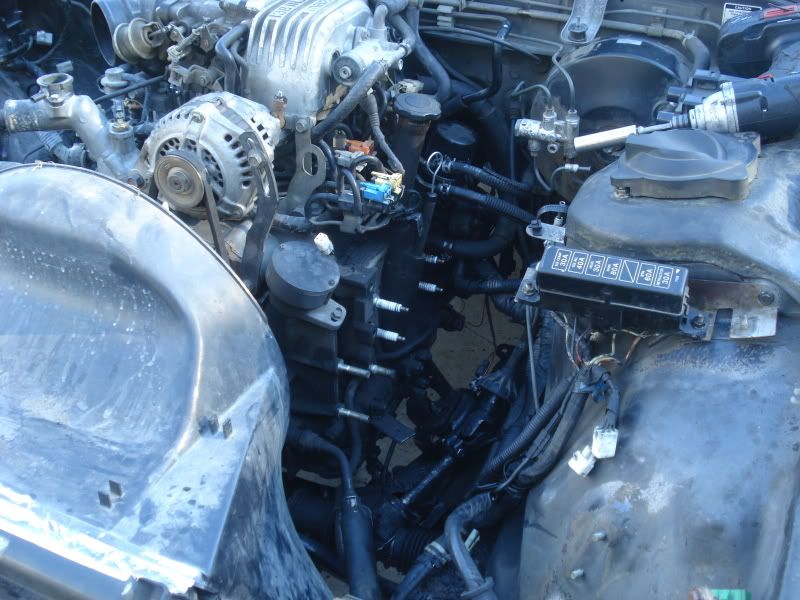
we pulled out the engine( i know its dirty but since i was in a rush we didnt wash it ill just worry about it when i rebuild it in the near future

DSC03727.jpg

DSC03730.jpg

DSC03731.jpg

DSC03805.jpg
 
we put the dash in and my seats and the door panels (just until the roll cage is installed and i get my buckets seats)

DSC03804.jpg


and thats pretty much where i stand at the moment until i get the roll cage in and get the rest of my suspension, exhaust and misc.
 
and i wanna thank Lucky 7 for letting me swap everything over at there shop
DSC03800.jpg


DSC03799.jpg

LOL! i love that sticker

i will keep u guys updated
 
Back
Top